
Water is everywhere!
It covers about 71% of the Earth and makes up about 60% of our bodies!
We use water to cook and clean, and everyone must drink it daily to stay healthy.

Have you ever wondered what makes water so special?
Try some of these science experiments with water at home to learn more about how water works!
Lab Safety & Set-Up
First, you need to set yourself up for successful and safe experiments.
Set-Up
Work in an area where spilling water and using food coloring is OK.
Set up somewhere where pets or family members won't get in the way.
Working in a kitchen or outside may be best.
Change into clothes that are OK to get messy.
Safety
Adults should always supervise children with these experiments.
Protect eyes and hands with goggles and gloves.
Read the procedure fully before starting.
Follow procedures as written.
Clean up when you're done working.
Once you're all set up, it's time to get experimenting!
Quiz
What safety habits should you follow while doing experiments?
Experiment 1: Build a Mini Water Cycle Model
Explore how water cycles through Earth with this miniature model.
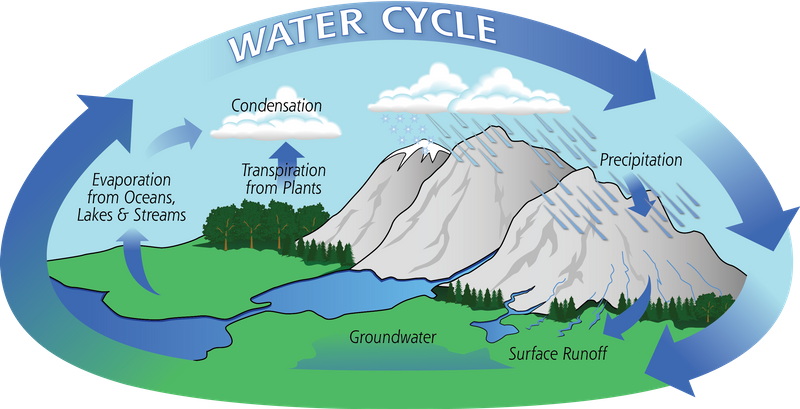 Image from Flickr by AIRS (the Atmospheric Infrared Sounder from NASA)
Time
10 minutes (active)
1 day (passive), observing every 1-2 hours
Materials
2 small snack-size plastic bags
Permanent marker
Water
Food coloring
Optional: sand, 2 rocks
Procedure
Use the marker to draw water, sun, clouds, and rain on the outside of both bags.
Add enough water to the bag to fill the "water" area (about 2 tablespoons).
Add a drop of food coloring to your water.
Optional: Add sand to one corner of each bag and a rock to the other corner.
Seal both bags. Tape one bag outside or in a sunny area. Tape the other bag inside or in a shaded area.
Observe the bags every 1-2 hours. What do you notice?
The video below shows you how to set up the experiment:
The Science Behind It:
The water cycle includes:
Evaporation: water heats up, turns into gas, and rises
Condensation: water vapor cools into clouds
Precipitation: cooled water vapor forms rain and falls back to the surface
Infiltration happens when water soaks into Earth's surface, like water soaking into sand.
When water can't soak into a material, it forms surface runoff, like you see on the rock.
Quiz
How did the sun affect the water cycle? Select all correct results:
Subscribe for more quick bites of learning delivered to your inbox.
Unsubscribe anytime. No spam. 🙂
Experiment 2: Make a Water Strider
Have you ever seen a bug run on water? Try to see if you can make a water bug model that floats.
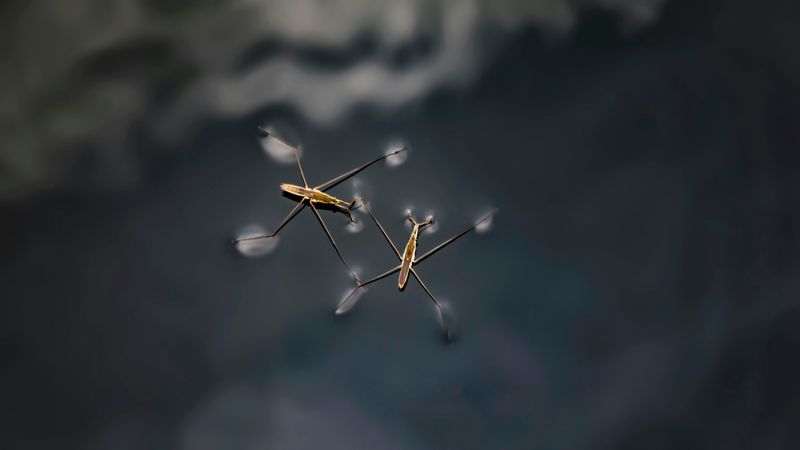 Photo by hao wang on Unsplash
Time
30-40 minutes
Materials
Thin wire
Scissors
Wide bowl
Water
Optional: googly eyes, glue
Procedure
Cut 3 lengths of 2-4 inch wire.
Twist the centers of the wires together to form the insect's body.
Spread out all 6 legs and bend them to form feet.
Adjust the legs to support the insect's length.
Test out the water strider on the bowl of water. If it sinks, adjust the legs and feet until it floats.
Move or shake the bowl to make waves and see how your water strider reacts!
The video below shows you how to set up the experiment:
The Science Behind It:
Water molecules are polar, meaning they can stick together. This causes surface tension and allows light objects to float on water.
As kids create, test, and adjust their water striders, they are engaging in the engineering design process.
Did you know?
Experiment 3: Create a Candy Rainbow
Water is great at dissolving things like sugar and food dye. Explore this by creating your own rainbow!
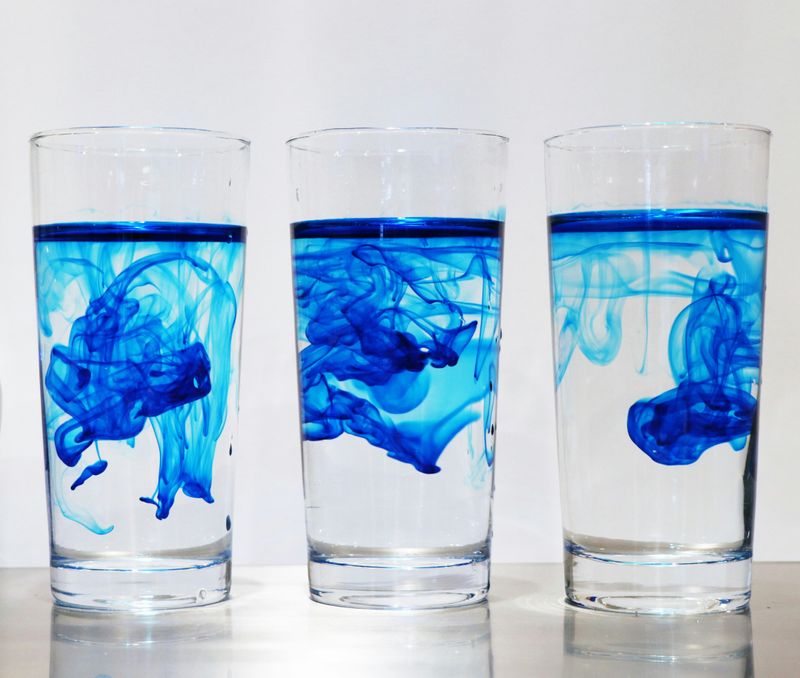 Photo by Chaozzy Lin on Unsplash
Time
10 minutes
Materials
Plate with a rim
Warm water
Sugar
Candies with hard, colored shells (M&Ms, Skittles, Reese's Pieces, etc.)
Procedure
Arrange candies around the edge of the plate in a pattern. Ex: 2 of each color in rainbow order.
Add a small amount of warm water to the center of the plate.
Wait and observe what happens!
Clean off the plate and set up more candies.
Put a small pile of sugar (1/4 teaspoon) in the center of the plate.
Add the warm water to the center again and observe.
The video below shows you how to set up the experiment:
The Science Behind It
Both the colored dye and sugar from the candy dissolve in warm water, forming a solution.
The sugar and dye move in the water from high to low concentration.
In the first test, there is a lot of sugar and dye at the edge of the plate and less in the center, so they travel quickly to the center.
When there's sugar in the middle, the candy sugar doesn't move as fast, so you see the color change slow down too.
Even though we can't see it move, the sugar travels faster than the dye, due to their different chemical properties.
Did you know?
Take Action
Water is all around us and is essential to life! It has many different properties you can explore with experiments.
There are many other science experiments with water you can do. Maybe you’ll even design your own!
Your feedback matters to us.
This Byte helped me better understand the topic.