
Have you always wanted to make your own website, but the thought of it is just too overwhelming to even start?

The good news: you can create one in minutes with ZERO coding skills required!
There are many web content management tools with built-in templates that are so user-friendly, even the most technologically-challenged can do it!
Wordpress, Weebly, Wix, and Squarespace are some of the popular ones, just to name a few. But perhaps the easiest way to build your own website is the completely FREE Google Sites.
1. Getting Started
You'll need to make a free Google account to get started, if you don't already have one. Click "Sites" from your Google Apps page or use this link. Then select a pre-made template from the gallery or choose "blank" to build something from scratch.
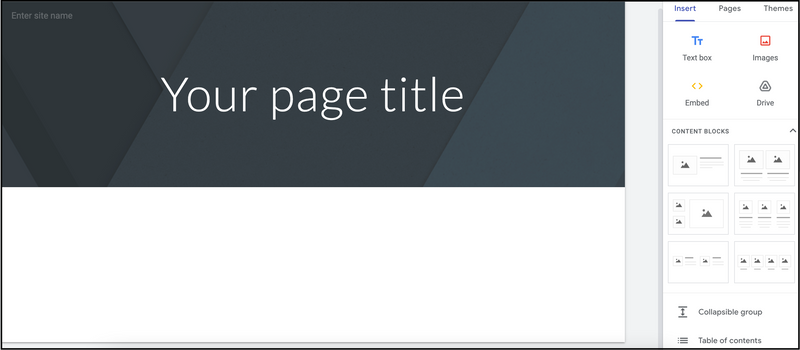
The Left Side:
This is the preview of your site. Add and adjust all of your content here.
The Right Side:
This is the editor toolbar. Create sections on your page for text, images, etc.
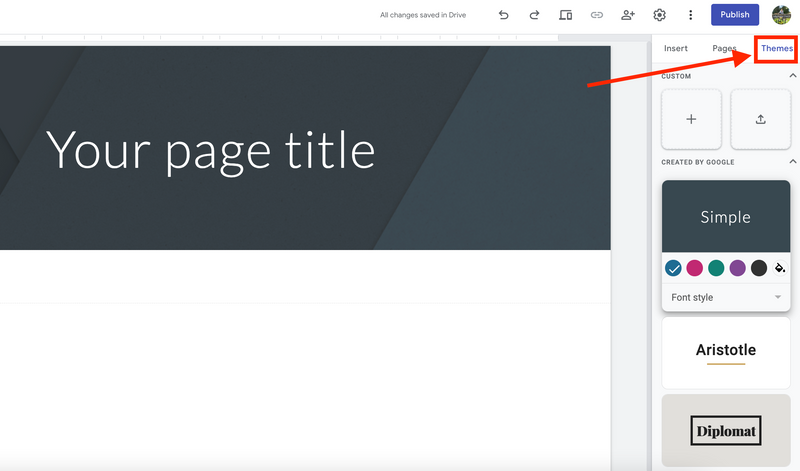
You can choose a theme for your website by clicking "Themes" on the far right tab of the editor toolbar. This will automatically apply font choices and color schemes to your entire website. Or edit everything manually as you go!
2. Creating Pages
From the middle tab on the editor toolbar, select "Pages". Click the plus sign at the bottom and select "New Page". Give your page a name! Some example pages could include:
About Me
Products/Services
Blog Posts
Newsletter
Photo Gallery
Events Calendar
FAQs
Contact Information
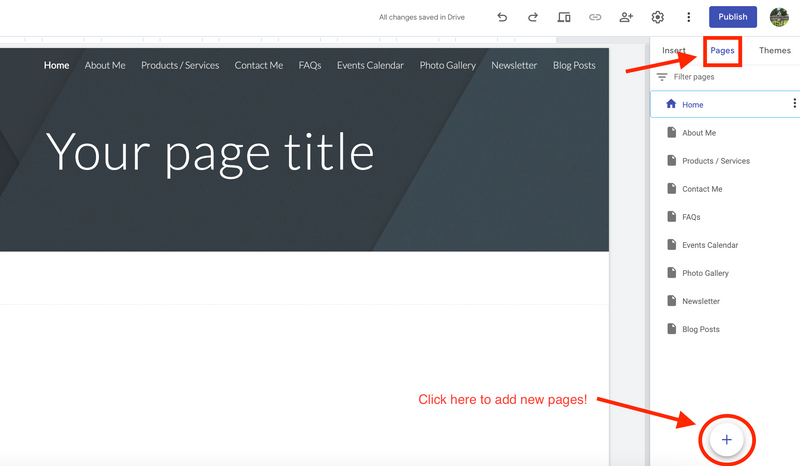
These pages will automatically show up on the banner for easy access by your user.
Did you know?
3. Adding Content
You can select a content block from the "Insert" tab on the editing toolbar to create different content arrangements. Or select what you'd like to insert from the list:
Text — Insert a text block. You can adjust the font, text size, and color. Add bullets or a numbered list with ease.

Images — Add one image or select "Image Carousel" to include multiple images on the same line that the user can scroll through.
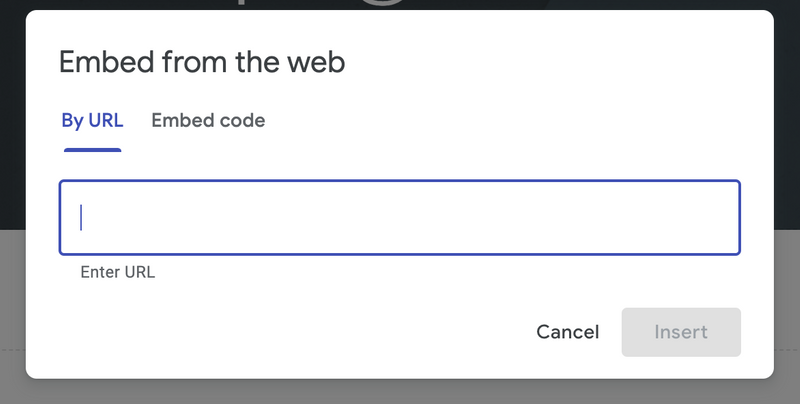
Multimedia — Choose "embed" to include a video or other multimedia source within your page.
Documents — Click "Drive" to upload anything on your Google Drive, including documents, spreadsheets, slideshows, Google Forms, PDFs, etc.
Quiz
Naomi wants to upload pictures from her Instagram account to her Google website. What is the most efficient tool for her to display multiple photos?
Subscribe for more quick bites of learning delivered to your inbox.
Unsubscribe anytime. No spam. 🙂
4. Cool Features
Here are some of the fun ways to make your Google Sites page extra engaging:
Social Links — This will display buttons for direct links to your Facebook, Instagram, Twitter, or any other social media site.
Map — Provide a Google map link to your brick-and-mortar store.
Calendar — Embed a Google calendar right onto your site, so viewers can see any events or important dates you add.

Divider — Add a horizontal line to separate content into sections.
Button — This is ideal for adding a clickable link to an outside webpage.
Collapsible Group — This will display a heading only, and the user must click the drop-down arrow to show the content contained underneath. Check out the video below for a tutorial. 🔽
Quiz
Naomi wants to lay out a page with a few different sections. Which Google Sites feature should she use?
Did you know?
5. Rearranging Content
Once you've uploaded your text and media, rearranging the content is easy. If you click, drag, and drop, you can move any individual piece around on the page. The content will automatically resize to fit everything!
Check out the video below for a step-by-step tutorial on how to rearrange and resize your content on your Google site. 🔽
Did you know?
6. Publishing Your Site

When you're happy with your Google Site, click the blue "Publish" button at the top right corner of the page. Google will suggest a domain name for you, or you can create a custom URL.
Here you'll also select the privacy features of who can view and interact with your page.
Creating a customized domain name can cost approximately $12 - $30 per year depending on the ending (.org, .net, etc.), so you may want to select the free one given.
Did you know?
Take Action

It's time to go start your own Google website! Check out the links below for additional resources:
Your feedback matters to us.
This Byte helped me better understand the topic.