
Imagine you have presented a well-planned lesson, but your students seem lost!
As a teacher, you pour your heart into planning and presenting lessons, but sometimes students “just don’t get it.”

Scaffolding is a great way to get over this hurdle and see more of those moments where the learning “clicks.” 💡
What is Scaffolding?
You may think of scaffolding as a construction term. You know, those temporary platforms placed around buildings under construction.
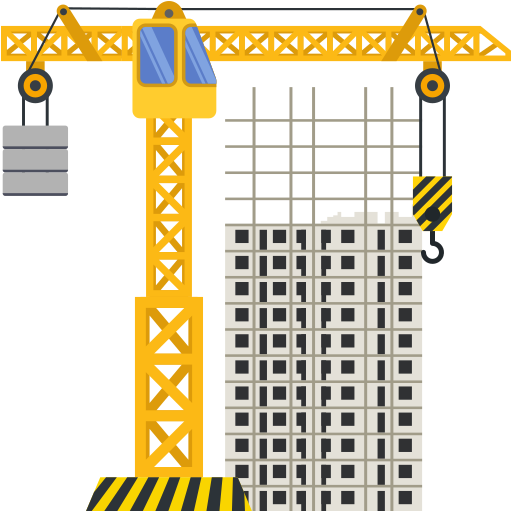
But scaffolding also has another meaning.
It's a teaching method where teachers provide support to guide student learning one small step at a time.
Dr. Aexl Ramirez, professor of elementary social studies, explains how scaffolding works in the video below:
Video courtesy of Utah Valley University
The goal is for teachers to eventually remove supports and for students to have independent success, just like a completed building has all scaffolding removed once construction work is complete!
What Scaffolding is NOT
Sometimes scaffolding gets mixed together with other strategies, but let's be clear...
Scaffolding is NOT differentiation. 📢

Both strategies help students better understand what they're learning, but they're NOT the same thing.

Differentiation happens when we change the way we present lessons to make the learning accessible to all students.

Scaffolding involves using temporary supports to move students through the learning process.
👉 Check out the Byte 4 differentiated instruction strategies that appeal to a variety of student needs for more on differentiated instruction.
How Does Scaffolding Work in the Classroom?
The most common way to use scaffolding in the classroom is through gradual release— where the responsibility for learning shifts from the teacher to the student.
4 Phases of Gradual Release:
Focused (I do) 👩🏫
Explicit, teacher-led instruction
Guided (We do) 👩🏫🧒
Teacher and students work together to practice the skill
Collaborative (You do it together) 🧒🧒
Students work in pairs or small groups to practice skills
Independent (You do it alone) 🧒
Students work independently
Imagine it looking something like this...
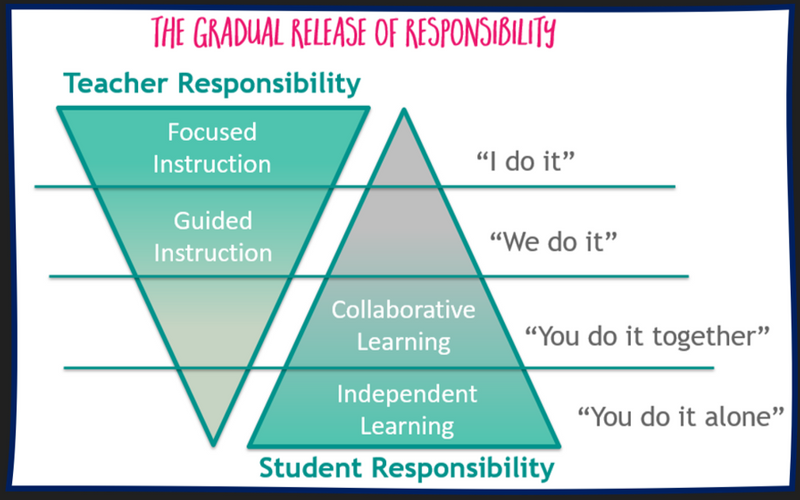 Image courtesy of Sommerville Rise Primary School
A teacher might circle back through these phases as many times as needed for all students to master the skill.
Quiz
Student teams are working together to put together puzzles that show the life cycle of a butterfly. Which phase of gradual release scaffolding does this task fit into?
Subscribe for more quick bites of learning delivered to your inbox.
Unsubscribe anytime. No spam. 🙂
Benefits of Scaffolding
Scaffolding makes the process of learning easier, so students are more likely to have success. 🙌

However, good grades aren't the only positive outcome of scaffolding. It also...

Challenges students: Students are challenged to grow, learning things they could not learn on their own.

Enhances problem-solving: Students learn to connect ideas and solve new challenges.

Increases student engagement: Varied activities and supports capture students' attention and keep them hooked.

Fosters opportunities for success: Students are more likely to meet objectives.

Creates a more positive classroom: Students have an environment where they're "free to fail" or make mistakes without hurting their grades.
Did you know?
Challenges of Scaffolding
Like anything new, there can be some challenges when first implementing scaffolding in the classroom.

Time commitment: It can take time to figure out where and how to use scaffolding in your instruction.

Meeting all learners: Teachers must know their students’ strengths to choose the best learning activities.
Knowing when to let go: Teachers must know when to pull back supports and let students work on their own.
Fortunately, like anything new, the process becomes easier over time.
Strategies to Try
Scaffolding becomes second nature to most teachers who use it. One way to feel more prepared is to build your toolbox of effective strategies. 🧰

Common scaffolding strategies include...

Modelling: Show students what you want them to learn. Demonstrate a sample problem on the board, thinking aloud as you work through each step.

Tapping into prior knowledge: Use an advanced organizer such as a KWL chart to get students thinking about what they already know and help them connect their experiences to the topic.

Giving time to talk: Students can often explain things to each other in ways that we can't. Engage students in a cooperative learning activity such as think-pair-share.

Pre-teach vocabulary: Introducing students to key words before reading a text helps to build their understanding before they read. Try one of these pre-teaching vocabulary strategies.

Visual aids: If students can see it, they're more likely to remember it. Graphic organizers, pictures, maps, anchor charts, and other visual aids help students to organize information and better understand key concepts.
 Photo by Kenny Eliason on Unsplash
Check out the video 5 Scaffolding Strategies To Bolster Student Learning for more tips to help you get started.
Quiz
Which of the following is an example of a scaffolding strategy?
Take Action

I'm sure you're eager to try scaffolding in your classroom. So jump right in and take some steps to get yourself started.
Your feedback matters to us.
This Byte helped me better understand the topic.