
This logo isn't an ad or affiliate link. It's an organization that shares in our mission, and empowered the authors to share their insights in Byte form.
Rumie vets Bytes for compliance with our
Standards.
The organization is responsible for the completeness and reliability of the content.
Learn more
about how Rumie works with partners.
Do you miss when photos were rare but felt more personal? Do you want to bring back those grainy, tinted photos that smell of nostalgia? If you answer yes to these questions, maybe you should learn film photography!
Since I grabbed my first SLR camera, I've fallen in love with this art form. All you need is a camera and some film to get started!
Here are some tips to help you along the way.
What is Film Photography?
During film photography:
A roll of light-sensitive film is placed inside a camera.
When the photographer clicks the shutter button, the shutter opens up and allows light in.
The light makes an impression on the film. This film is now called "exposed" and should not come into contact with light again until it is back in the film case.
The photographer then moves the film forward to capture a new photo.
When the roll is all shot, it's rolled back into its case and developed.
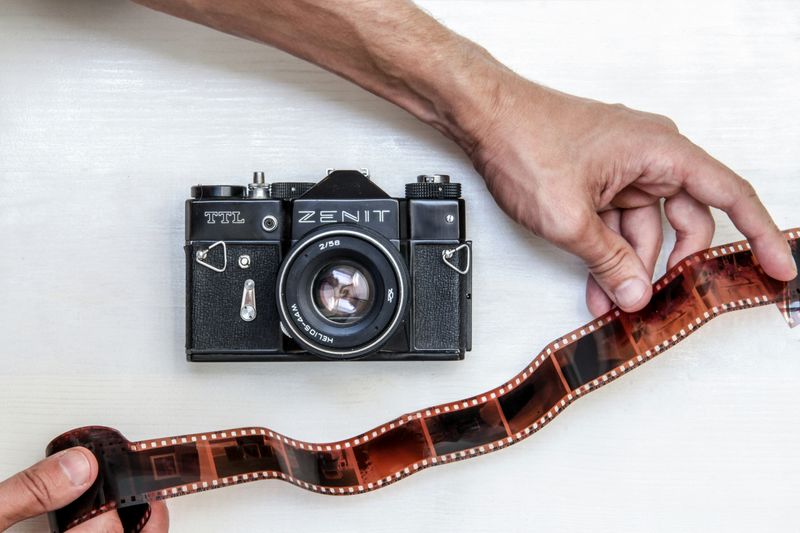 Photo by NordWood Themes on Unsplash
As you take on film photography, you'll need to consider your options. Your choice of film and camera can affect the intended results.
Choosing a Film Format
Before you grab your first camera, learn more about the available film formats. Although there is a variety of film out there, here are the most popular ones:
35 mm film is the most common and popular format, especially for beginners.I'd suggest starting off with 35mm because when compared to other formats, 35 mm is:
smaller
lighter
cheaper
easier to develop
120/medium format film is often preferred by professional photographers and:
has higher resolution
allows more camera customization
costs more
has fewer shots in a roll of film
Instant film (Polaroid or Instax) is:
more expensive
prints instantly
makes great gifts during events and parties
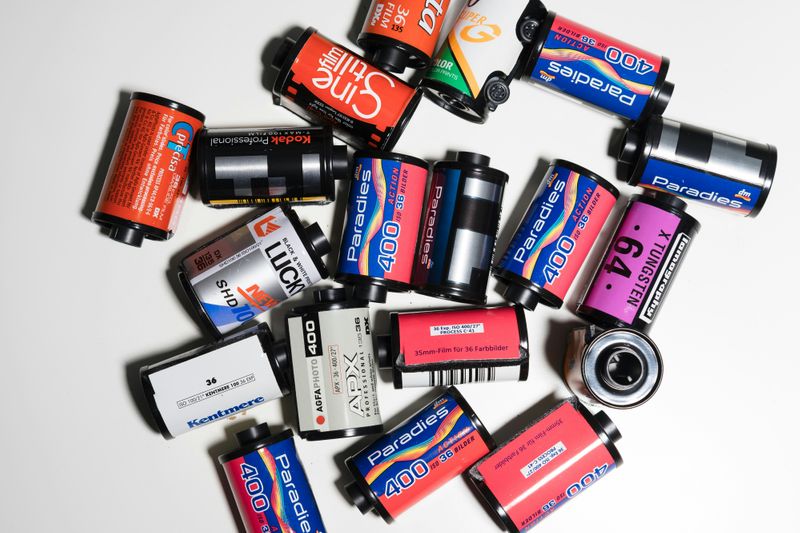 Photo by Markus Winkler on Unsplash
Did you know?
There are so many film types to experiment with! 35mm films range from black & white to different hues such as green, blue, yellow, and pink tints. Even expired rolls can result in some funky colors.
Choosing Your First Camera
This might be the most research intensive part of starting to shoot film. You can get your first camera from your grandparents, find it in flea markets, thrift shops, Etsy, the Facebook Marketplace, etc.
Before making a purchase, check that the camera has been “tested” with film recently. Untested cameras may need to be fixed which could be a costly investment.
Although there are many different camera types used with various film formats, the most common cameras for beginners are SLRs and point-and-shoots which both shoot 35mm film.
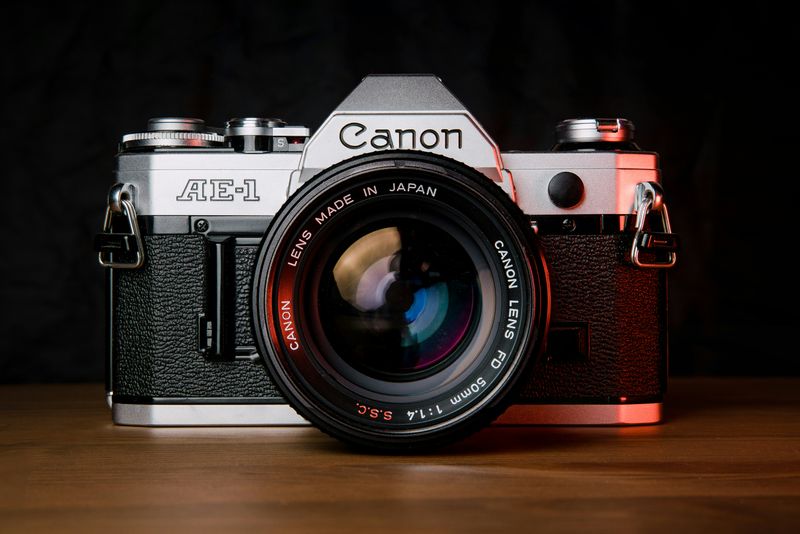 Photo by Jason Leung on Unsplash
Single Lens Reflect (SLR)
Manual controls: focus, aperture, and shutter speed can be manipulated for desired effects such as blurry background/foreground, different exposure levels, slow shutter effects, etc.
More options: you can switch lenses for different results.
Quality: photos will have better quality, the camera will be more durable.
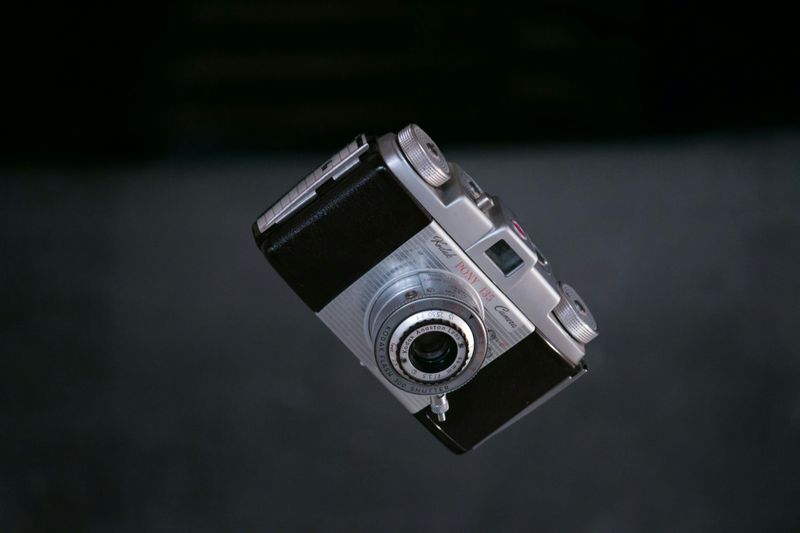 Photo by Jean Gerber on Unsplash
Point and Shoot (P&S)
Cheaper: although this will depend on the camera, SLRs tend to be more expensive.
Smaller size and lighter weight: good for travelling.
Simple: automatic focus and exposure if you simply want to capture moments.
Quiz
Ali wants to start shooting film photography and wants to experiment with focus and exposure. Ali also prefers more variety and lower costs when it comes to film. What should he start out with?
Ali should start out with an SLR camera and 35 mm film because he wants to experiment with the camera settings and wants his film to be cheaper and have more variety.
Developing Film
After you finish shooting your roll, you need to take it to a film lab to get it developed. Local camera or photography stores often have film labs. They will take it from there and help you with any questions you may have. The film photography community is quite welcoming, so don’t be afraid to ask for help at the store.
Photo development is a chemical process which turns your roll of film into negatives. A film roll is developed only once but can be scanned multiple times after that and kept for viewing.
After the film is developed, the store will send you the digital scans of your photos if you choose this option. Otherwise, you can grab your negatives (developed film) and scan them yourself if you have a film scanner.
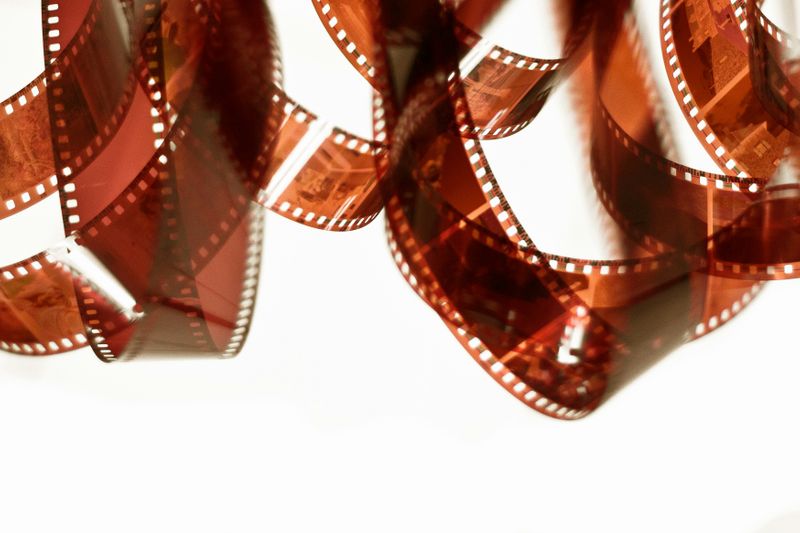 Photo by Scott Rodgerson on Unsplash
Did you know?
Some local libraries have film scanners that are open to the public if you have a library card. You can decrease your costs by checking your library out!
Having the Right Mindset
Be patient for results.
Our modern minds are wired to check how our photos look right after taking them. With film, it often takes weeks before you get to see the photos you took during a trip or event.
Know that the results may not be perfect the first few times. Enjoy experimenting!
There is a learning curve! With film photography, you need to leave space for mistakes such as low/high exposure, light leaks, accidental double exposure, etc. Some mistakes end in a beautiful result, appreciate those moments.
Know your budget.
The costs will differ according to the type of film you buy, how you develop, and the quality of your scans.
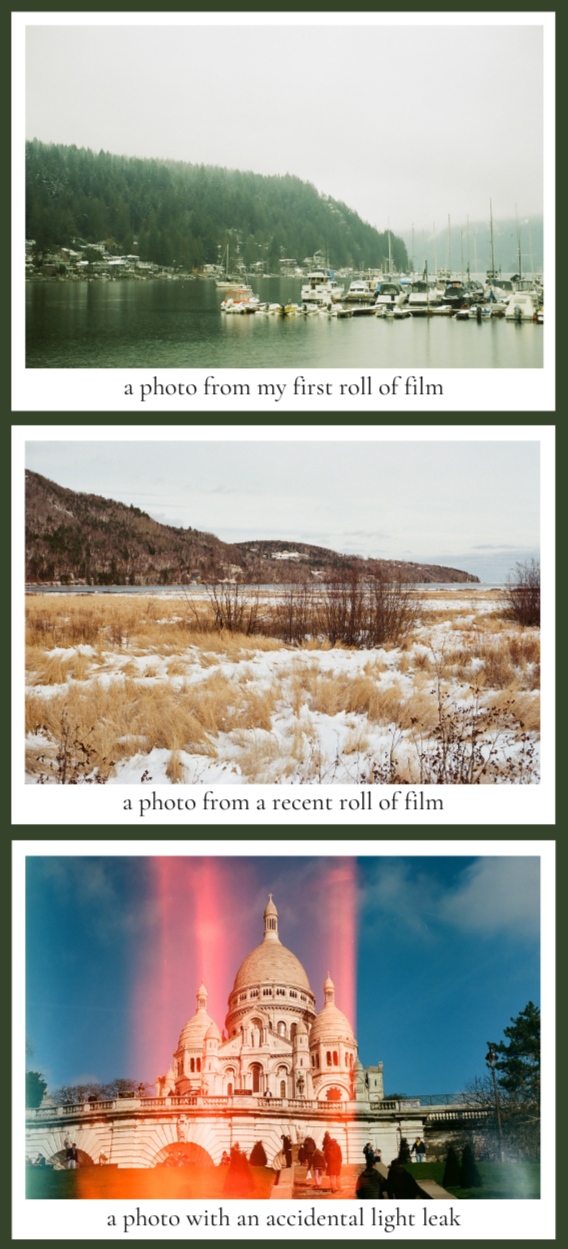 Image courtesy of the author
Did you know?
Film photographers who want a more hands on approach can develop their film at home, especially for Black & White photography. Check out this blog post to learn more about the at-home development process.
Common Mistakes to Avoid
Although mistakes are part of the learning process, you can save time and money by avoiding the following:
Not loading film correctly. When you get a new camera, go on YouTube and watch how you should load film for that specific camera. If you are having trouble, ask for help at the film lab.
Opening the back of the camera after loading film. Make sure that the back is completely shut to avoid light leaking into your camera. Roll your film back into the canister once its all shot. You can then open the back.
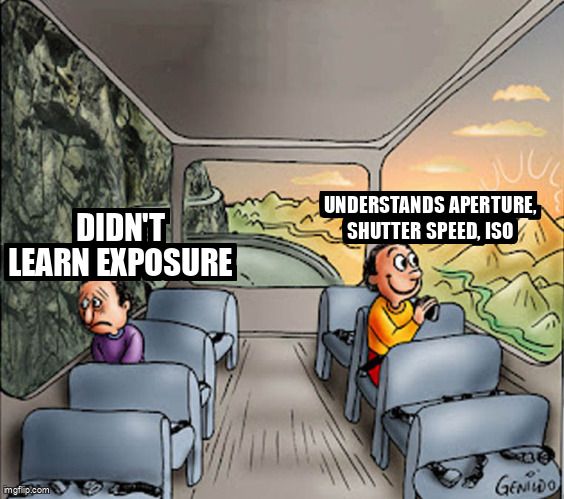
Not learning how light works. Do your research. Try understanding exposure by looking into the aperture, shutter speed, and ISO.
Throwing out your negatives. Keep your negatives in case you would like to make new scans in the future. Here is a video on archiving your negatives.
Dropping off film at drug stores. Try a local film lab, they understand your needs better and are often professionals with film.
Did you know?
If you don't have a film lab close by, you can often send your rolls by mail. Check film labs' websites for more information.
Take Action
Now that you've learned the basics of film photography, here are some resources to help you along this journey.
Enjoy shooting film!
This Byte has been authored by
Ayse Kabaca
Instructional Designer
MA