This logo isn't an ad or affiliate link. It's an organization that shares in our mission, and empowered the authors to share their insights in Byte form.
Rumie vets Bytes for compliance with our
Standards.
The organization is responsible for the completeness and reliability of the content.
Learn more
about how Rumie works with partners.
Did you know that you can use many common household products to conduct science experiments from your home?
 Photo by Andrew George on Unsplash
Kickstart your home laboratory with these experiments using materials from around the house!
But first, a word about lab safety:
Always use adult supervision
Choose a well-ventilated and well-lit space
Wear safety goggles, aprons, and gloves when handling potentially hazardous chemicals
Gather all your needed supplies before beginning any experiment
Be neat and organized
Clean up all spills & dispose of wastes properly
Store chemicals and materials appropriately
1. Discover Density
Density measures how tightly a material is packed together. Different densities of materials will float different types of objects.
In this experiment, you'll discover which liquids are more dense than others. Less dense liquids will float while more dense liquids will sink. Objects will float on liquids with higher densities but will sink through liquids with lower densities.
 To explore density, you'll need:
A large glass cylinder
Honey
Corn syrup
100% maple syrup
Whole milk
Dish soap
Water
Vegetable oil
Rubbing alcohol
Lamp oil
9 empty plastic cups
A turkey baster
Food coloring
A bolt
A popcorn kernel
A die
A cherry tomato
Some beads
A soda bottle cap
A ping pong ball
Note: Use as many of the liquids and objects as you have on hand!
 Set up the experiment:
Measure out equal amounts of each liquid into the cups.
Color the water and rubbing alcohol with food coloring (for visibility).
Layer the honey, then corn syrup, then maple syrup in the cylinder...don't let the liquids touch the sides when pouring!
Using the turkey baster, SLOWLY layer the milk, then the dish soap.
Use the turkey baster to SLOWLY pour the remaining liquids down the side.
Now, carefully drop the objects into the cylinder.
Observe where each object falls.
Make note of where each object lands and consider why it landed and didn't sink!
Did you know?
Because each liquid has its own density (or molecular thickness), the liquids can sit on top of each other! Their unique density also allows the objects dropped into the liquids to be suspended.
2. Investigate Insolubility
Solubility is the ability of one substance to form a solution with another substance.
When two substances won't mix, they're said to be insoluble (think rocks and water — rocks don't dissolve in water).
In this experiment, you'll investigate the insolubility of a dry-erase marker.
To explore insolubility for yourself, you'll need:
A dry-erase marker
A glass or shiny porcelain plate
A small amount of water
 To do the experiment:
Begin by drawing a figure (stick figure or fish or flower) on the plate using the Expo marker.
Draw the lines thick.
GENTLY and SLOWLY add the water to the plate.
Watch your figure float around!
Did you know?
Some good examples of soluble substances are sugar dissolved in water and powdered coffee creamer in coffee. Learn more about solubility with Steve Spangler at Steve Spangler Science.
3. Study Surface Tension
Surface tension is a force that causes a layer of liquid to behave like an elastic sheet or skin.
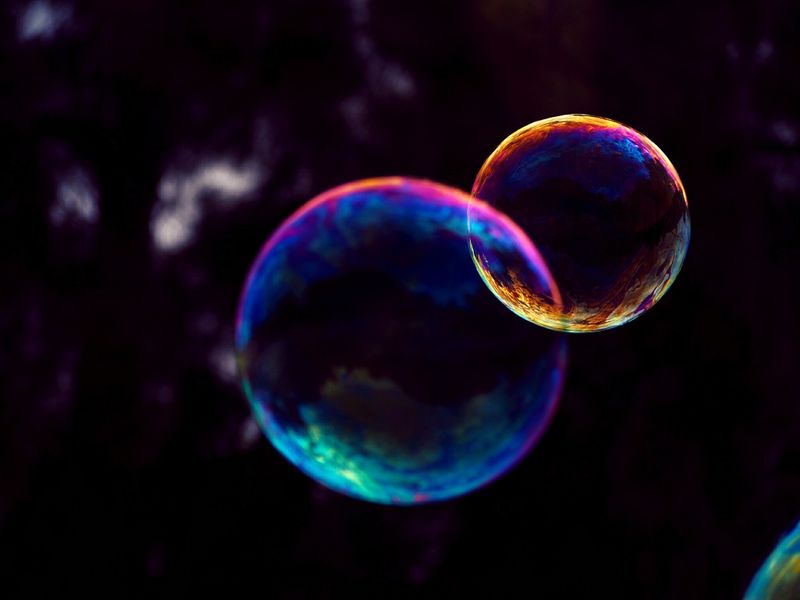 Photo by Marc Sendra Martorell on Unsplash
In this experiment, you'll study how soap changes the surface tension of water, making it flexible enough to form bubbles!
 To do the experiment:
Begin by mixing the water and cornstarch.
Slowly stir in the remaining ingredients!
Use the solution with a bubble wand. How big can you make your bubble?
Quiz
How does soap (like dish soap) affect surface tension?
Soap is a surfactant (a chemical compound) that decreases the surface tension of water molecules, allowing bubbles to form.
Did you know?
The addition of soap (like dish soap) breaks the water's surface tension by decreasing it, allowing bubbles to form!
4. Produce a Polymer
 To do the experiment:
Empty the bottle of glue into a mixing bowl and add food coloring. Mix to blend.
Add a small amount of the Borax solution to the glue. The slime should start forming. Continue to add the Borax solution until the slime is stretchy but not rubbery.
Try using clear or sparkle glue in place of white glue!
5. Replicate a Rainbow
You don't have to wait for a rainy day to see a rainbow! You can create your very own!
In this experiment, you'll replicate a rainbow. What causes rainbows? Rainbows happen when sunlight beaming through water molecules is split! Light can be reflected from surfaces to form a rainbow effect too!
 To do the experiment:
Shine the flashlight on a CD or DVD to create a rainbow on the CD or DVD's surface. Shine the flashlight at an angle to cast the rainbow to a wall.
Shine the flashlight through a prism or a crystal to cast a rainbow.
Fill a clear cup with water then shine the flashlight through the side.
Did you know?
The real shape of a rainbow is a circle! When seen from the ground, they're arched-shaped. But when seen from the air, like in an airplane, the rainbow is a complete circle! Learn more about rainbows here.
Take Action
There are many other experiments you can do with household items! Home science experiments are not only engaging but they're educational as well as inexpensive. What young budding scientist wouldn't want to put an egg into a jar?
This Byte has been authored by
Wendy McMillian
Learning Designer
B.S., M.A.T.


