Who said science experiments had to be about chemicals and complex equipment in a lab? Conducting experiments is key to hands-on learning, but it should be fun and engaging.

The kitchen has a bunch of opportunities to conduct science experiments at home using food. These three science experiments with food are not only fun, but also educational and delicious!
#1: Celery and water transportation
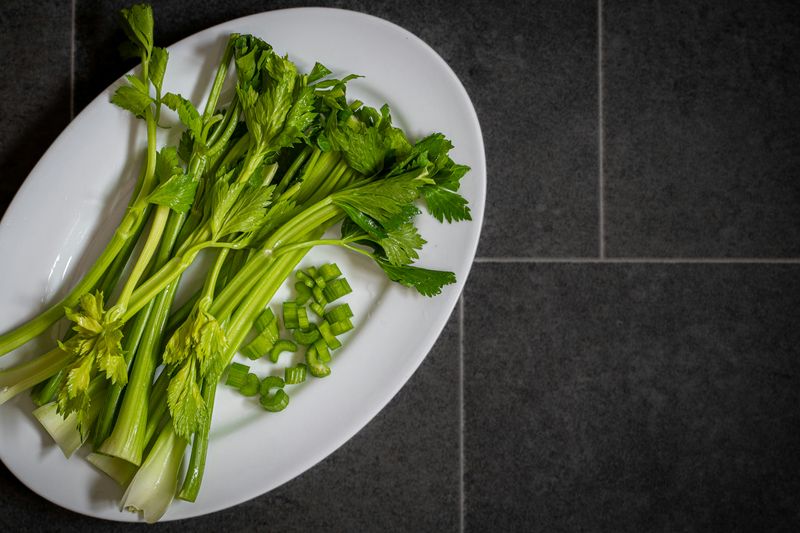
How does water travel in a plant? Find out using three simple things: celery, water, and food coloring!
 Photo by Monika Borys on Unsplash
This experiment shows you how a plant transfers water and nutrients throughout the plant.
Plants have two main "tubes": xylem and phloem. Xylem moves water upward. Phloemtransfers sugars, proteins, and other nutrients up and down the plant.
Because celery is mostly water and has visible tubes for water transportation, you can see where the water and nutrients travel!
What's the science behind it?
Xylem draws water upward using capillary action (a process where water moves up through small spaces). Adding food coloring to the water allows you to see where the water travels in the celery!
How to observe water transportation with celery
See xylem and phloem in action with this celery activity by the Duthie Park Ranger Service!
Materials:
glass jars
celery
warm water
red/blue food coloring
knife
 Please be careful when handling sharp objects!
Steps:
Add about 3 centimeters of warm water into your glass jar.
Add food coloring to the water and mix thoroughly. The darker the color, the more visible the xylem will be in the celery.
Carefully cut the bottom part of the celery to get a fresh bottom. Place the bottom stalk (the wider end) into the glass of water. The leaves/top should be pointing up.
Leave the glass in a place where it won't be disturbed. Results are most visible when left overnight.
Check on your celery the next day. Wipe the bottom end of your celery, carefully snap the celery, and pull the broken bit to reveal the inner tubes. You should see colored "strings" — those are the xylem transporting the water!
#2: Make ice cream in a bag
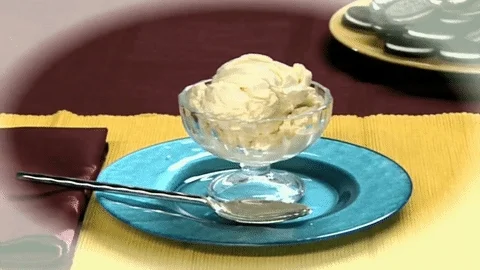
What is the chemistry behind ice cream? This sweet experiment is perfect for exploring how heat (energy) is transferred between objects!

What's the science behind it?
The role of salt and ice: Adding salt to the ice makes it colder (several degrees below freezing point), making it the right temperature to solidify the ingredients to make ice cream.
Heat transfer: Shaking the bag helps distribute the heat/energy of the ingredients to the ice, forming ice crystals between the milkfat and making the liquid into a solid.
Emulsification: Shaking the bag emulsifies the ingredients. When you shake, you create air pockets that help distribute the ice crystals and the fat. Since water and milkfat do not mix well, shaking and freezing are necessary to mix the ingredients and create a creamy texture.
How to make ice cream in a bag
Make delicious ice cream using this this recipe by Science Buddies!
Materials:
1 tablespoon of sugar
½ cup of half-and-half (or milk/heavy whipping cream)
¼ teaspoon of vanilla extract
½ cup of salt
4 cups of ice cubes
1 pint-/sandwich-sized (small) sealable bag
1 gallon-sized sealable bag
oven mitts/towel
timer
Steps:
Add 1 tablespoon of sugar, ½ cup of half-and-half (or milk/heavy whipping cream), and ¼ teaspoon of vanilla extract into the small sealable bag. Seal it well.
Add 4 cups of ice cubes and ½ cup of salt into the gallon-sized bag. Put the small bag of ice cream ingredients into the large bag of ice cubes. Seal the large bag well.
Put on oven mitts or wrap the bag in a towel. Shake the bag vigorously for five minutes. Feel the smaller bag every once in a while to see how its consistency changes!
Check on your smaller bag of ice cream after five minutes. Your ice cream should have a soft-serve consistency! You may need to shake the bag more if it is too watery.
Once you reach your desired consistency, take out the smaller bag from the gallon-sized bag. Transfer the ice cream into a bowl or enjoy your treat straight from the bag!
Quiz
Irene notices that her ice cream is not solidifying after five minutes of shaking. She followed the recipe but made two changes: she used nonfat milk and added chocolate syrup to her mixture. Why might her ice cream not solidify?
#3: Turn milk into cheese
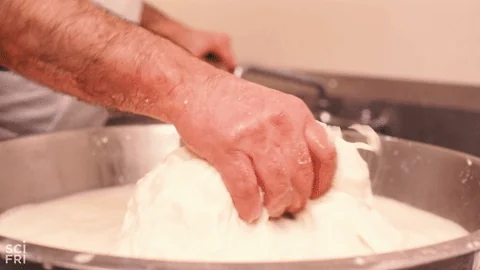
How does milk turn into cheese? Learn about bonding and coagulation (the process of making a liquid thicker, like a gel) by making your own ricotta cheese!

What's the science behind it?
How protein works: Whey protein is responsible for bonding different proteins together, and casein proteins give cheese structure and body.
The role of acids: Adding acids like lemon juice into warmed milk causes the whey protein in the milk to unfold and bond with casein proteins to form solid clumps, coagulating to form curds!
How to turn milk into cheese
Make cheese following KiwiCo's recipe!
Materials:
1 cup whole milk
1 tablespoon of an acid (lemon juice or vinegar)
pinch of salt
pot
fine mesh strainer
cheesecloth
2 small bowls
Steps:
Pour the milk into a pot and cook over medium heat until it’s steamy and has some foam. Add a pinch of salt. Stir constantly to avoid boiling.
Once the milk is warmed, remove it from the heat and stir in an acid of your choice (lemon juice or vinegar). The milk will begin curdling, separating the curds (casein protein) from the liquid (whey protein).
Set the cheesecloth on the strainer and leave the strainer over a bowl. Spoon the curds into the strainer to drain out the whey. Leave the curds in the strainer for at least an hour to remove all of the liquid.
Scoop the cheese out and enjoy it as a savory snack (grab your crackers!) or a sweet treat (top it with fruit and honey!).
Take Action
These are only some of the science experiments you can do with food! Food is a science, and the kitchen is your personal lab, so have fun learning and experimenting with other tasty science experiments with food!

Your feedback matters to us.
This Byte helped me better understand the topic.


